Prerequisites:
The inverter is correctly installed, configured, and already in operation or ready for operation.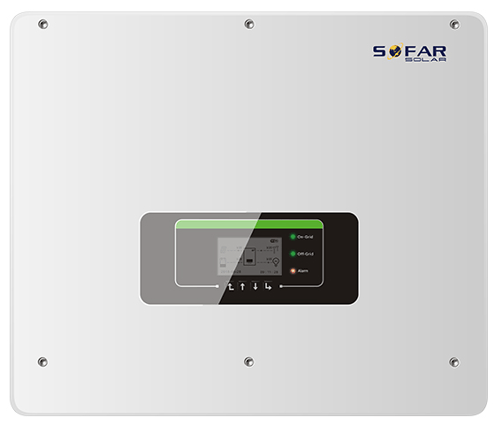
- Should this condition not be met, you can find manufacturer-specific information here: https://www.sofarsolar.com/upload/file/20240205/1707119142536014269.pdf
The correct dongle:
- The inverter can only be controlled with one of the following dongles:
- LSE-3 and LSE-3W
- LSE-4 and LSE-4W
- Make sure one of the dongles listed above is installed.
The dongle is located on the underside of the inverter and is labeled with the dongle type: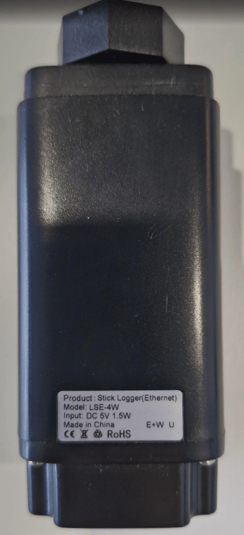
- If an incompatible dongle is installed, it must be replaced first.
The correct dongle firmware:
- Make sure that no firmware older than the following is installed:
- LSE-3 dongle: ME_0D_TCP_270A_1.09
- LSE-4 dongle:
- LSE4_V101_R270A001_M1.07
or - LSE4_V100_R270ANEM_M1.06
- LSE4_V101_R270A001_M1.07
- You can check the inverter's firmware version in connect.neoom.com (see the guide further below) once you have integrated it into neoom Ai (neoom CONNECT) using the steps below.
Integrating the inverter — and therefore reading out the firmware — is also possible with an older firmware version, but correct control cannot be carried out with an older firmware version.
Step 1: Determine the IP address of the inverter
- The best way to determine the inverter's IP address is via the "Network scan" function in connect.neoom.com. However, since the inverter is not clearly identified as a Sofar inverter, we recommend the following:
- Unplug the LAN cable from the inverter — or, for a WLAN connection, remove the entire dongle from the inverter — and wait about 1 minute
- Go to connect.neoom.com, log in with your credentials, and select the customer site from the site overview page.
- Select "Site configuration" and click "Network scan".
- Wait about 1 minute for the scan to finish and note down all devices that show a green dot to the left of the device name.
- Plug the LAN cable back into the inverter, wait about 1 minute, and run the device scan again.
- Wait about 1 minute for the scan to finish and compare which devices are new compared to the first scan, or now show a green dot instead of an orange one. The newly added device should be the Sofar inverter.
It is usually shown by the device scan as follows, though this can vary depending on the dongle — for example, a 10-digit number may be shown next to the green dot instead.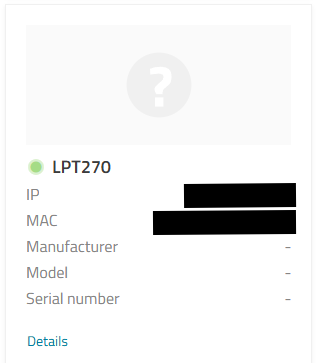
Step 2: Configure the inverter in neoom Ai
- Click "Configure" to integrate the inverter into neoom Ai.
- Select the correct device model. (Sofar HYD xKTL-3PH)
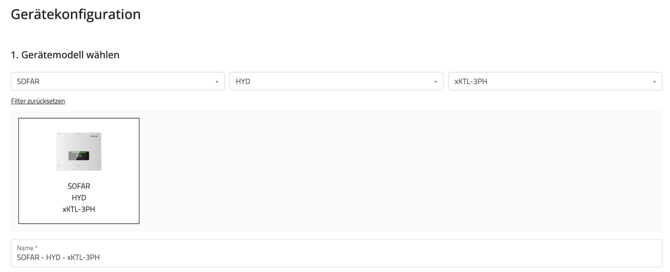
- The IP address, port number, and unit ID should already be pre-filled.

- Add the "Inverter", "Battery", "PV", and "AC power meter" components, and fill in the correct values according to the configuration at the customer's site. To do this, click "Add new component" for each one.


- Important: Click "Apply configuration"
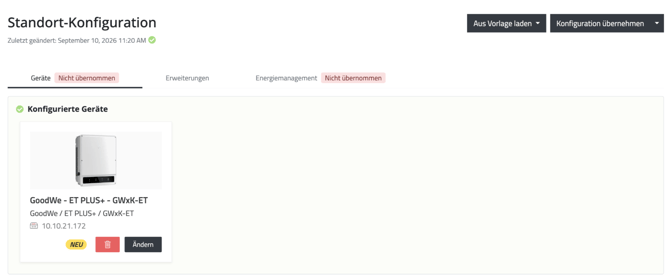
Step 3: Check whether the configuration was successful
Go to "Devices" in connect.neoom.com.
At the latest 2–3 minutes after clicking "Apply configuration" in Step 2, the inverter you just configured should be shown there as ONLINE (green dot). Click on the device's name next to the green dot.
On the page that now appears, click "Info" in the horizontal navigation menu:
Here you should find the dongle's firmware version.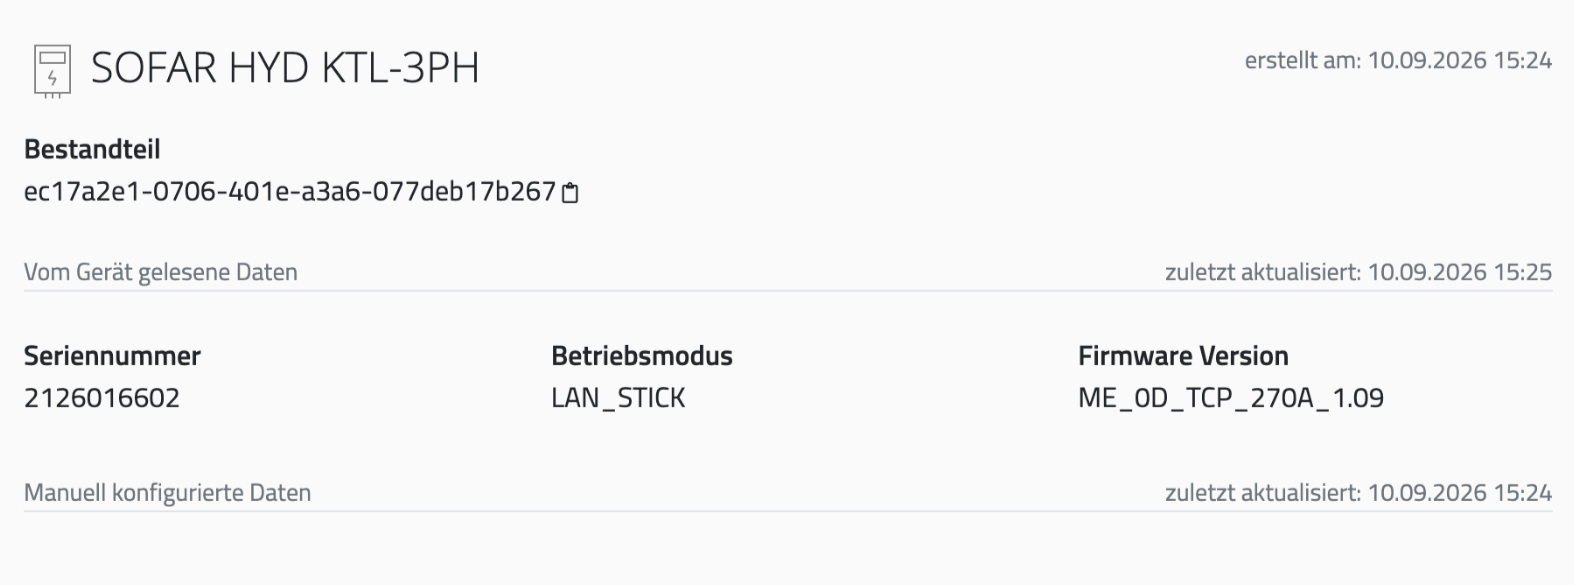
As mentioned in the Prerequisites section, check that the correct firmware is installed.
If that is the case, go to "State" or "Status" in the horizontal navigation menu. If everything worked correctly and the inverter is currently active, you should see values displayed here:

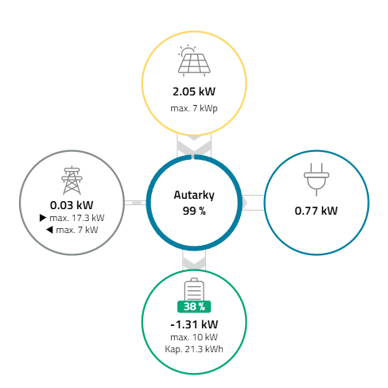
Also check that connect.neoom.com's "Dashboard" section correctly shows the energy flow to/from the PV system, to/from the battery, and to/from the grid.