Prerequisites:
The inverter is correctly installed, configured, and already in operation or ready for operation.
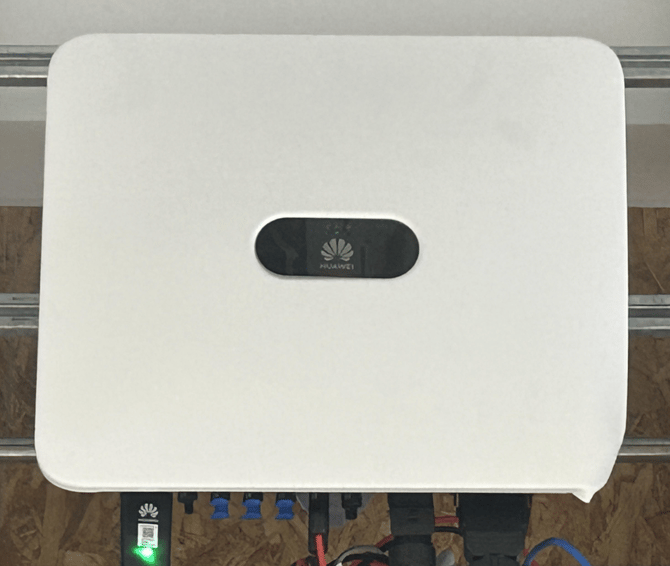
- Should this condition not be met, you can find manufacturer-specific information here: https://solar.huawei.com/en/products/residential/
Step 0: Preparation
In order for the Huawei inverter to be controlled by an external system such as neoom Ai / BEAAM, it is necessary to enable the Modbus TCP connection on the inverter and to have up-to-date firmware installed on both the inverter and the network dongle. This can be done via the Huawei FusionSolar app.
You have the following options for this:
Option 1: Contact the inverter's installer and ask them to carry out the steps described in the "Enabling Modbus on the inverter" and "Updating the inverter firmware" sections.
Option 2: Install the Huawei FusionSolar app, create an "Installer" account, and carry out the "Enabling Modbus on the inverter" and "Updating the inverter firmware" changes yourself.
Installing the FusionSolar app and creating an "Installer" account:
- Download the "FusionSolar" app from the App Store and open it
- Click "No account"
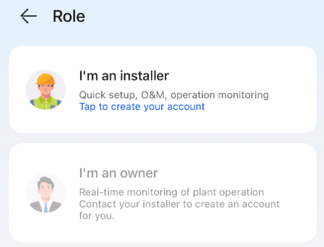
- Select "I'm an installer"
- Fill in the details and click "Get Code"
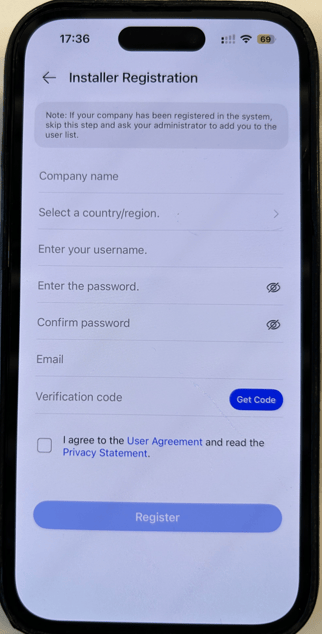
- You should now receive an e-mail with the "Verification code".
- Enter this code in the corresponding field (see image above).
- If everything worked, you should see the following message:
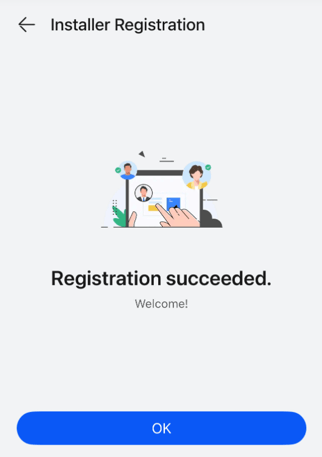
- You can now log in to the app with your "Installer Account".
- After logging in, go to "Device Commissioning"
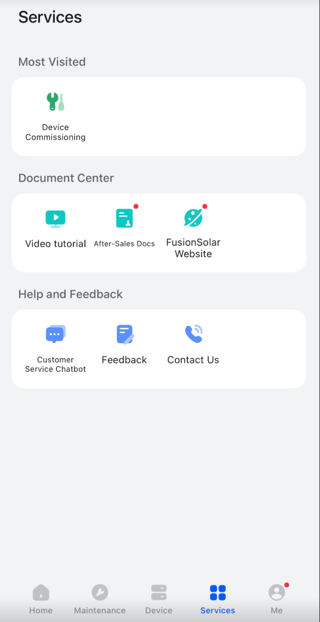
- You should now see your connection dongle listed — the one your HUAWEI inverter uses to connect to the network:
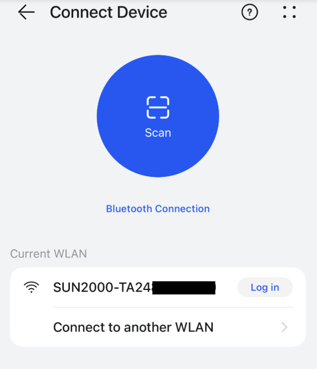
- Before clicking "Log in" (next to "SUN2000-TA24…" in the image above), connect your smartphone to the WLAN "SUN2000-TA24…"
- Now click "Log in"
- You now need to log in directly on the inverter. Be careful: this is a different login, with a different password, from the one you just created.
The password requested here was most likely set by your installer when the inverter was commissioned. If you don't know the password, it's best to ask your installer. To avoid confusion, explicitly ask for the password of your inverter here — your installer will not give you their "Installer Account" password.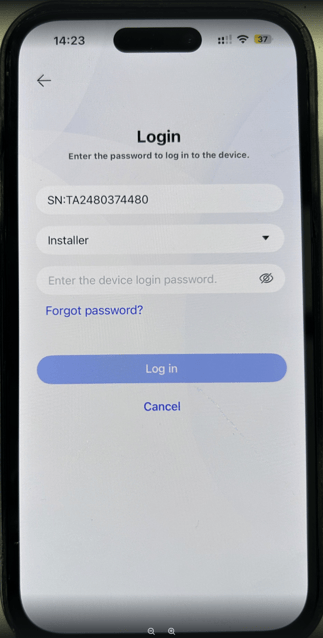
- If you know the password and can log in successfully, you can continue with the "Enabling Modbus on the inverter" step.
- If you cannot get hold of the password, you must reset the inverter's password. This works according to the following instructions from Huawei:
Resetting the Login Password on the Hardware
- Check that the AC and DC sides of the inverter are both powered on, and the two status indicators are steady green or blinking slowly for more than 3 minutes.
- Turn off the AC switch, set the DC SWITCH at the bottom of the inverter to OFF, and wait until all indicators on the inverter panel turn off.
- Complete the following operations within 4 minutes:
- Turn on the AC switch and wait for about 90s or until the inverter indicator blinks.
- Turn off the AC switch and wait about 30s or until all LED indicators on the inverter panel turn off.
- Turn on the AC switch and wait for about 30s or until all LED indicators on the inverter panel blink and then turn off after about 30s.
- Wait until the three green LEDs on the inverter panel blink fast and then the three red LEDs blink fast, which indicates that the password is restored.
- Reset the password within 10 minutes. (If no operation is performed within 10 minutes, all parameters of the inverter remain unchanged.)
- Wait until the corresponding indicator blinks.
- Connect to the app using the initial WLAN hotspot name (SSID) and initial password (PSW), which can be obtained from the label on the side of the inverter.
- On the login page, set a new password and log in to the app.
- Set router and management system parameters to implement remote management.
You are advised to reset the password in the morning or at night, when solar irradiance is low.
Instructions for resetting the inverter password can also be found on the following Huawei page:
https://info.support.huawei.com/Energy/info/en_US/solar_installer/docView/EDOC1100303087/5fa32c28?lang=2
Enabling Modbus on the inverter:
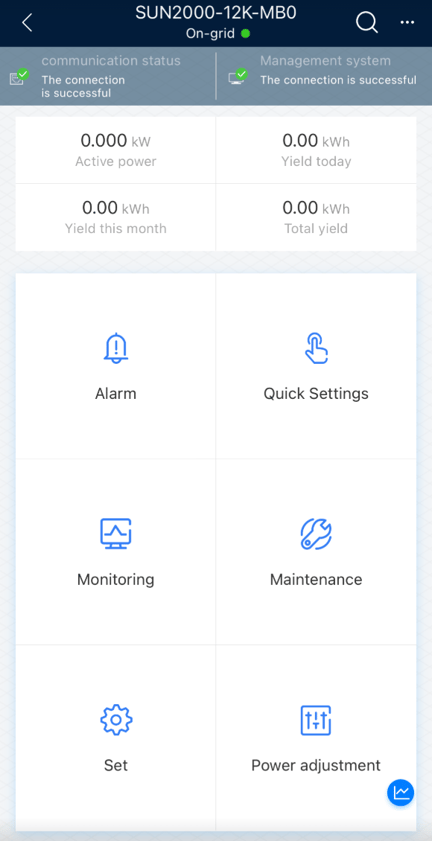
- Once you have successfully logged in directly on the inverter, click "Set" (gear icon)
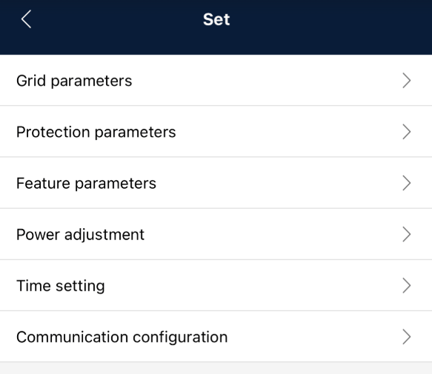
- Select "Communication configuration"
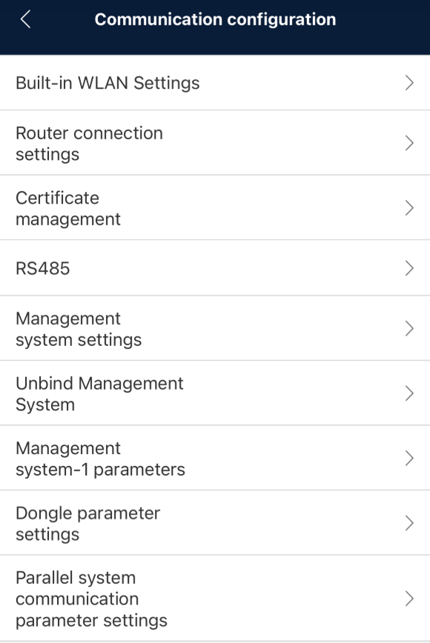
- Select "Dongle parameter settings"
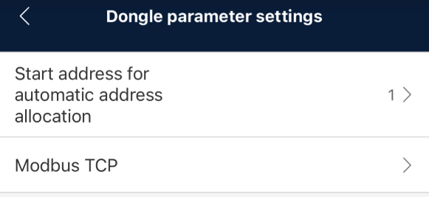
- Select "Modbus TCP"
- Select "Connection"
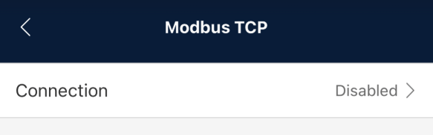
- Change the setting to "Enable (unrestricted)".
Important: the setting must be set to "Enable (unrestricted)". "Enable (restricted)" does not work.
As soon as you see the message "Settings saved successfully", the setting has been applied successfully.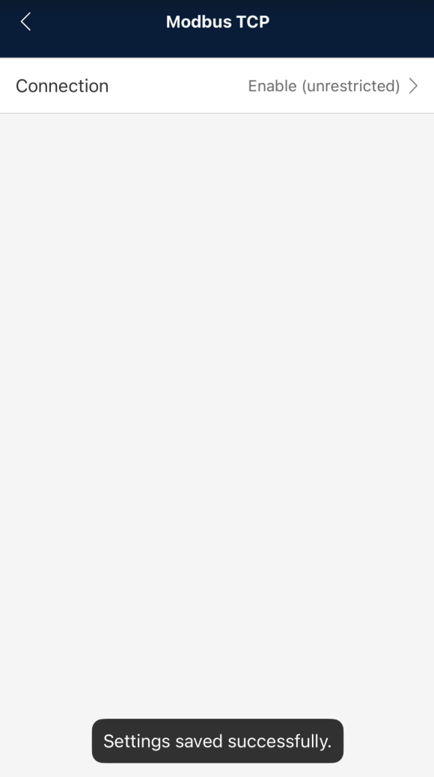
Updating the inverter firmware:
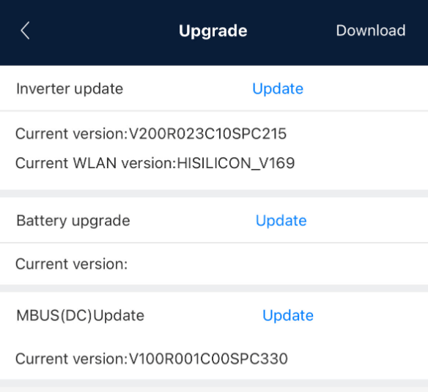
Make sure that at least the following firmware versions, or newer, are installed. You can recognize a newer firmware version by a higher number after "SPC".
- dongle
V200R025C00SPC141 - inverter
V200R023C10SPC215
For the following steps, you must remain connected to the inverter's local WLAN (see previous steps).
- Select "Maintenance"
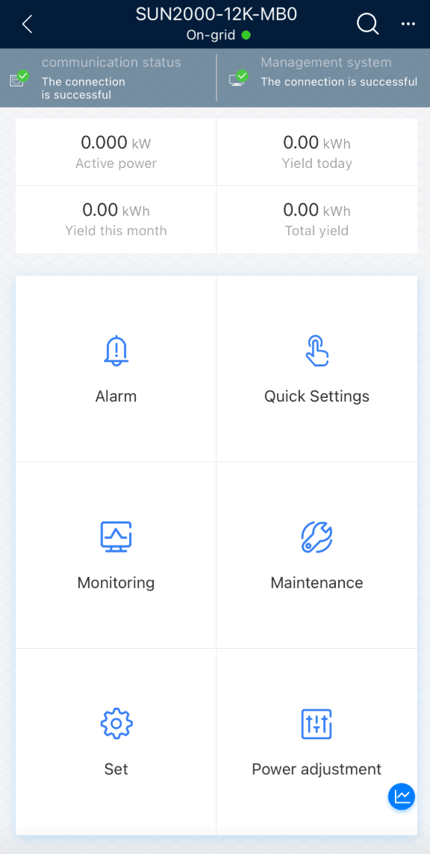
- Select "Upgrade"
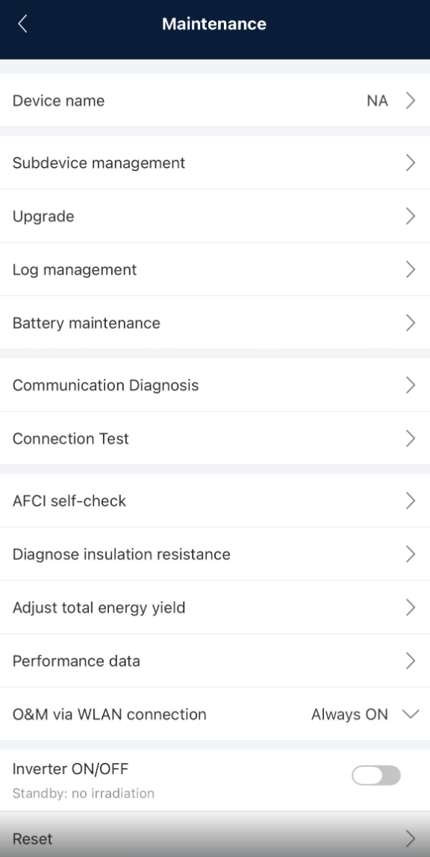
- Select the components you want to update, click Update, and wait until the update has been carried out.
Step 1: Determine the IP address of the inverter
- The best way to determine the inverter's IP address is via the "Network scan" function in connect.neoom.com. However, since the inverter is not clearly identified as a Huawei inverter, we recommend the following:
- Unplug the LAN cable from the inverter — or, for a WLAN connection, remove the entire dongle from the inverter — and wait about 1 minute
- Go to connect.neoom.com, log in with your credentials, and select the customer site from the site overview page.
- Select "Site configuration" and click "Network scan".
- Wait about 1 minute for the scan to finish and note down all devices that show a green dot to the left of the device name.
- Plug the LAN cable back into the inverter, wait about 1 minute, and run the device scan again.
- Wait about 1 minute for the scan to finish and compare which devices are new compared to the first scan, or now show a green dot instead of an orange one. The newly added device should be the Huawei inverter.
It is usually shown by the device scan as follows, though this can vary depending on the dongle — for example, a 10-digit number may be shown next to the green dot instead.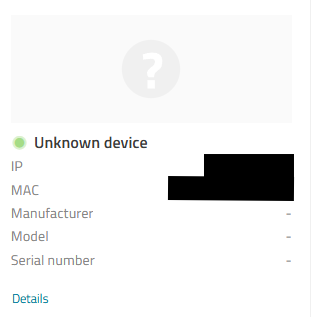
Step 2: Configure the inverter in neoom Ai
- Click "Configure" to integrate the inverter into neoom Ai.
- Select the correct device model.
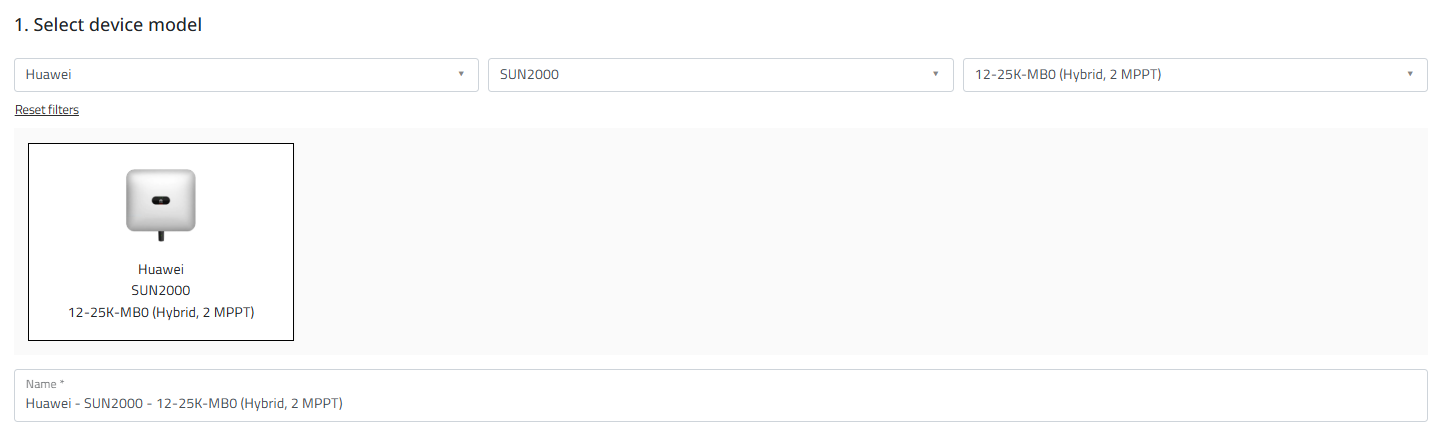
- The IP address, port number, and unit ID should already be pre-filled.

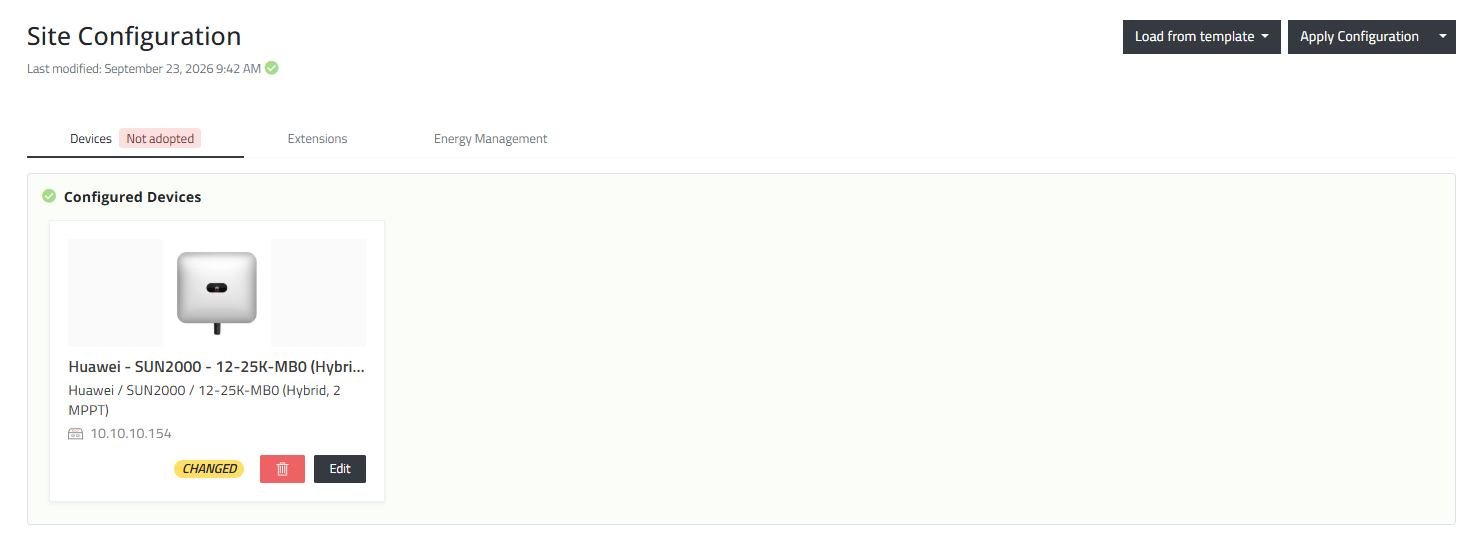
- Add the "Inverter", "Battery", "PV", and "AC power meter" components, and fill in the correct values according to the configuration at the customer's site. To do this, click "Add new component" for each one.


- Important: Click "Apply configuration"
Step 3: Check whether the configuration was successful
Go to "Devices" in connect.neoom.com.
At the latest 2–3 minutes after clicking "Apply configuration" in Step 2, the inverter you just configured should be shown there as ONLINE (green dot).
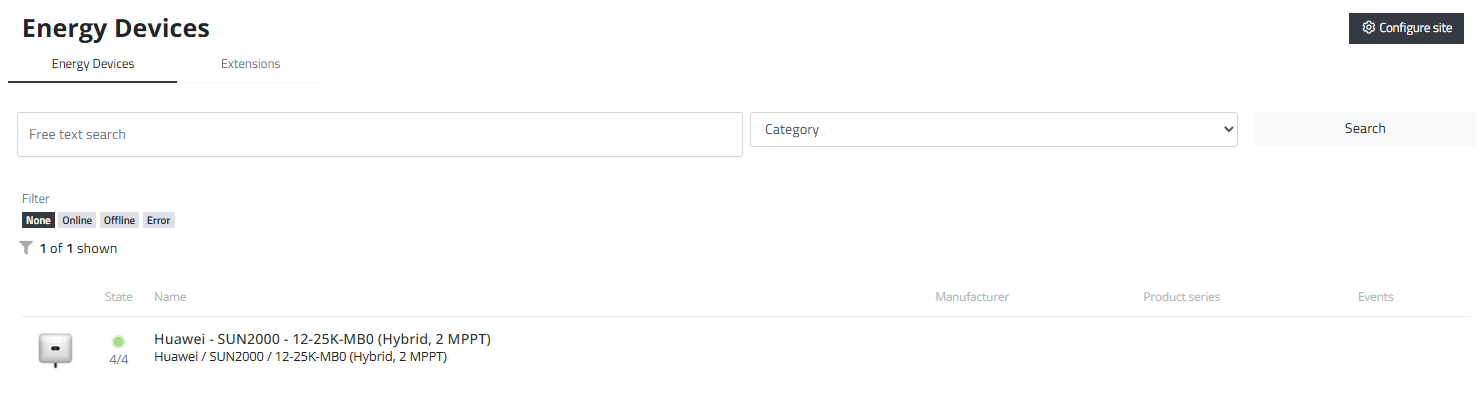
Click on the device (the name next to the green dot).
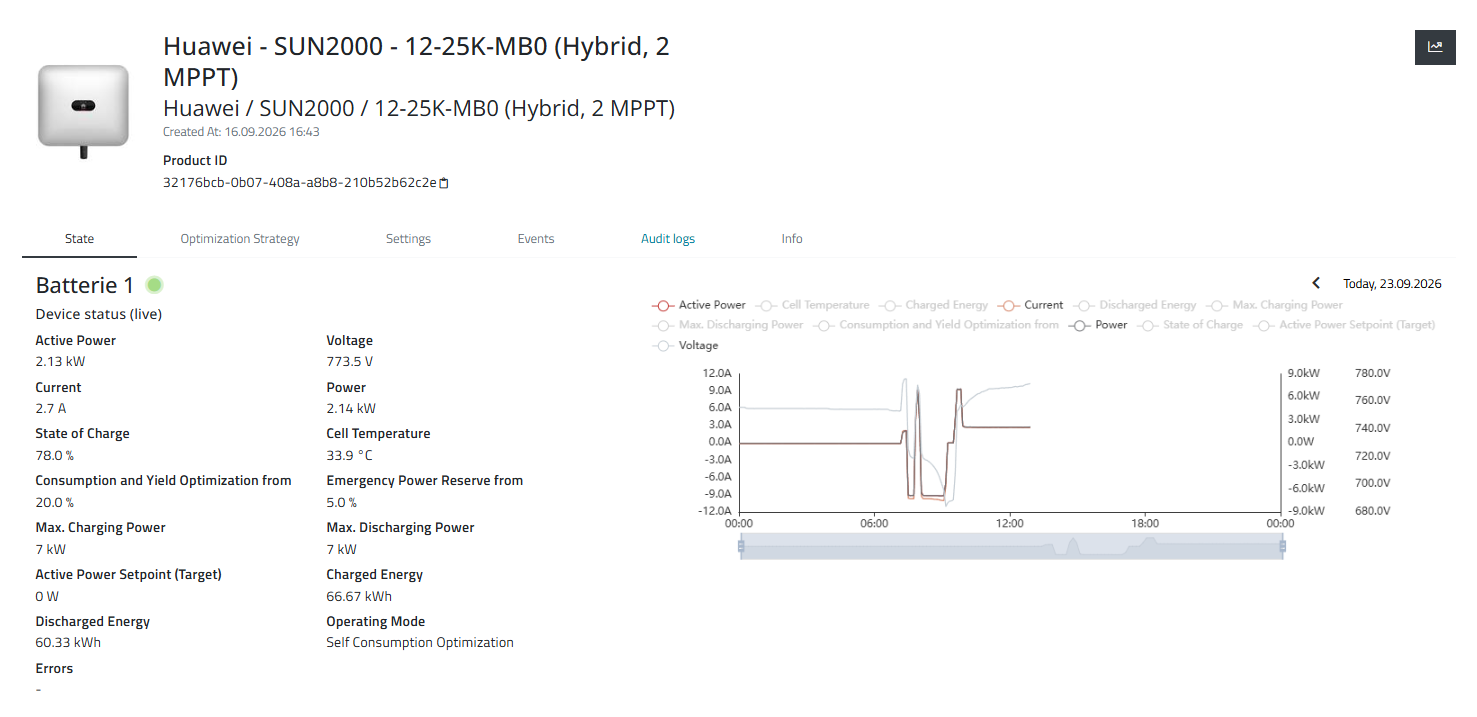
Go to "State" or "Status" in the horizontal navigation menu. If everything worked correctly and the inverter is currently active, you should see values displayed here:
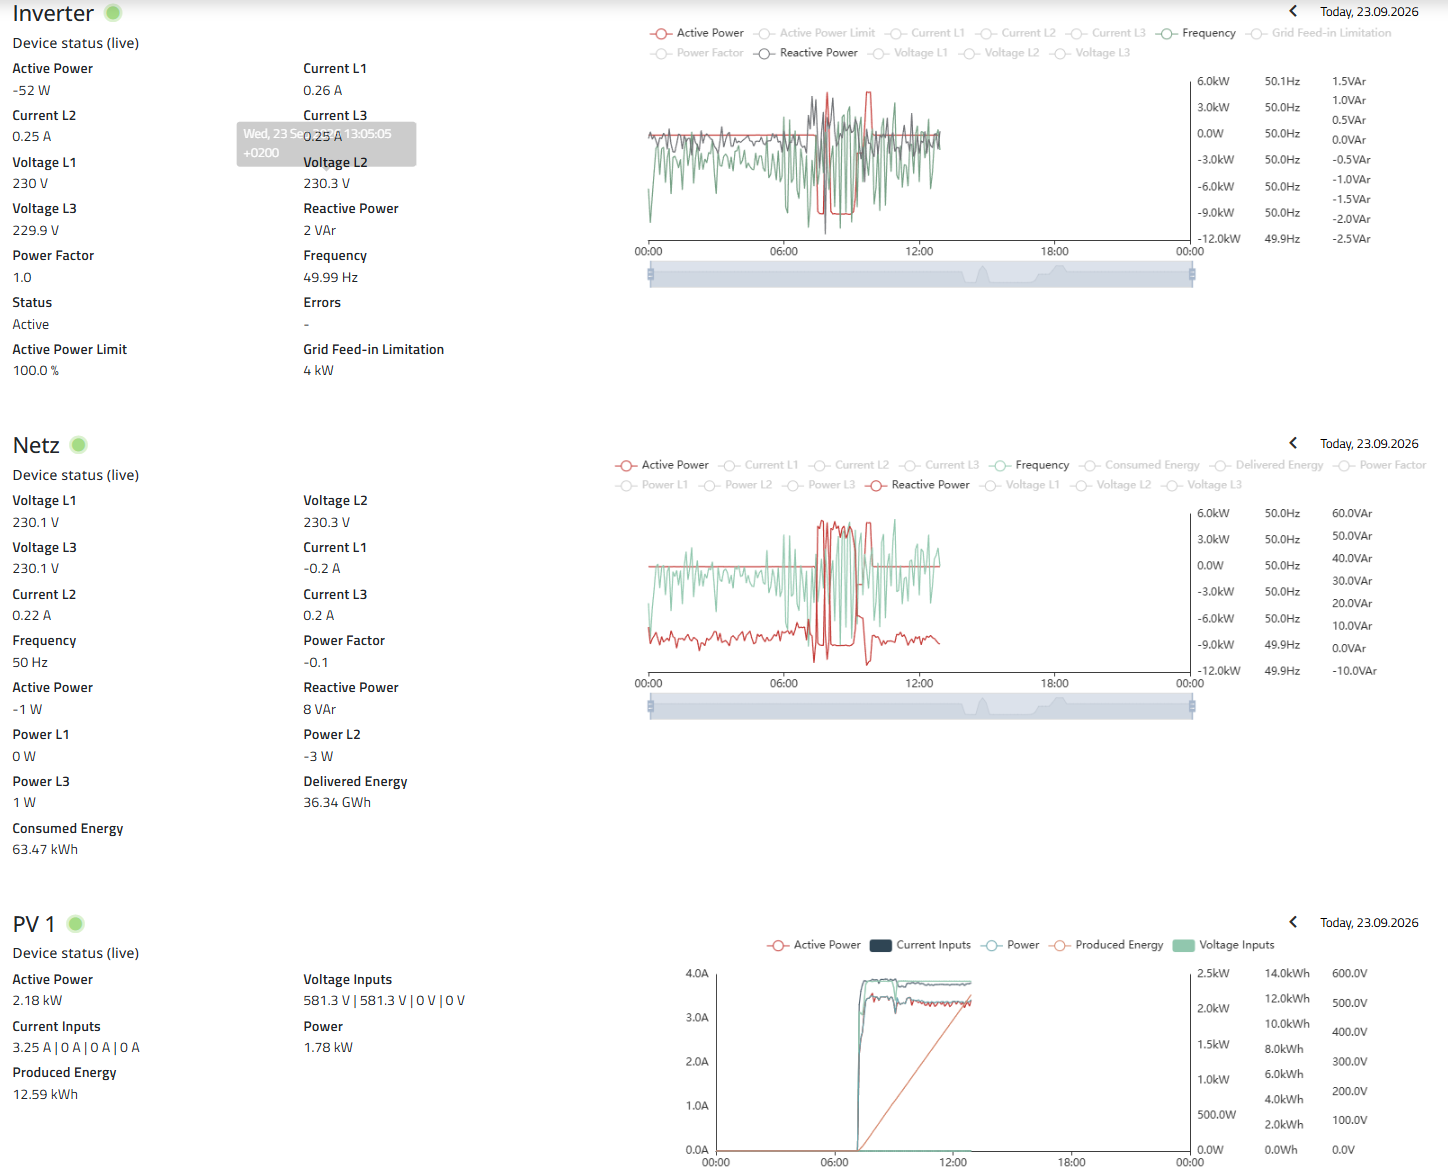
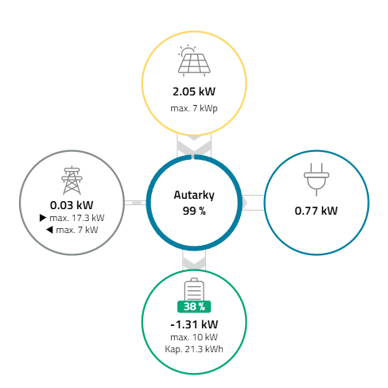
Also check that connect.neoom.com's "Dashboard" section correctly shows the energy flow to/from the PV system, to/from the battery, and to/from the grid.